


 русский
 Español
 عربى
 italiano
A stainless steel M10 bolt runs in by hand for six turns, then stops dead at half engagement. The thread is not crossed, the hole is not bottomed, and the torque wrench never reached its set point, yet the nut will not move in either direction without a breaker bar. That is thread galling, and in stainless assemblies it usually appears on the first power-driven installation rather than after months in service.
The short answer is that galling is cold welding between mating threads. Pressure and friction break down the protective oxide film, fresh metal touches fresh metal, and the two surfaces bond at a microscopic level. Continued turning tears those bonds and rips the thread flanks instead of sliding across them. It is not corrosion and not a tolerance error, which is why opening a new box of the same parts rarely solves anything. The practical controls are lubrication, installation speed, and the alloy and thread pairing written on the drawing.
Content
How Galling Forms Inside a Threaded Joint
Galling is classified as adhesive wear, and it develops in a predictable sequence during tightening:
- The first two or three engaged threads carry most of the load, and the contact pressure there fractures the chromium oxide film on both mating surfaces.
- Fresh, unoxidized metal is exposed and bonds across the interface at microscopic high points under that pressure.
- Continued rotation shears the welded points rather than sliding over them, and the friction heat generated softens the surface and encourages further welding.
- Torn metal smears across the flanks, clearance disappears, and the joint locks. In many cases the fastener never reaches its specified torque at all.
The result is a joint that may hold load perfectly well but cannot be dismantled. Forcing it apart with a wrench usually shears the bolt or strips the nut, and the female thread in the component often needs rework. That is the real cost: not the price of one nut, but the downtime, the scrapped part, and the inspection time spent finding where the assembly line stalled.
Why Stainless Threads Gall More Than Carbon Steel
Stainless steel is not inherently weak, but its surface chemistry makes it far more prone to adhesive wear than plain carbon steel:
- The chromium oxide passive film reforms almost instantly after being broken, so any fresh metal exposed by rubbing re-oxidizes fast while still bonding under pressure.
- Stainless work-hardens quickly, so the flank surface gets harder as it rubs, which sharpens the weld-and-tear cycle.
- Its low thermal conductivity keeps friction heat at the thread flanks instead of dissipating into the body of the fastener.
- Identical alloy mating with identical alloy, at nearly identical hardness, gives the surface no reason to slide instead of stick.
- Fine pitches and long engagement lengths reduce radial clearance and increase contact area per revolution, both of which raise risk.
- Cut threads with laps, seams or torn crests gall much more readily than rolled threads, which have smoother flanks and compressive residual stress at the surface.
A common field fix is to pair different alloys: a 304 bolt into a 316 nut, for example, changes hardness and composition at the interface and reduces the tendency to weld. The trade-off between the two grades goes beyond galling, and this comparison of 304 versus 316 stainless hex bolts is a useful reference when corrosion resistance also matters. Aluminum, titanium and high-nickel alloys behave the same way, and hot-dip galvanized hardware brings its own problems because the zinc layer is thick and rough.
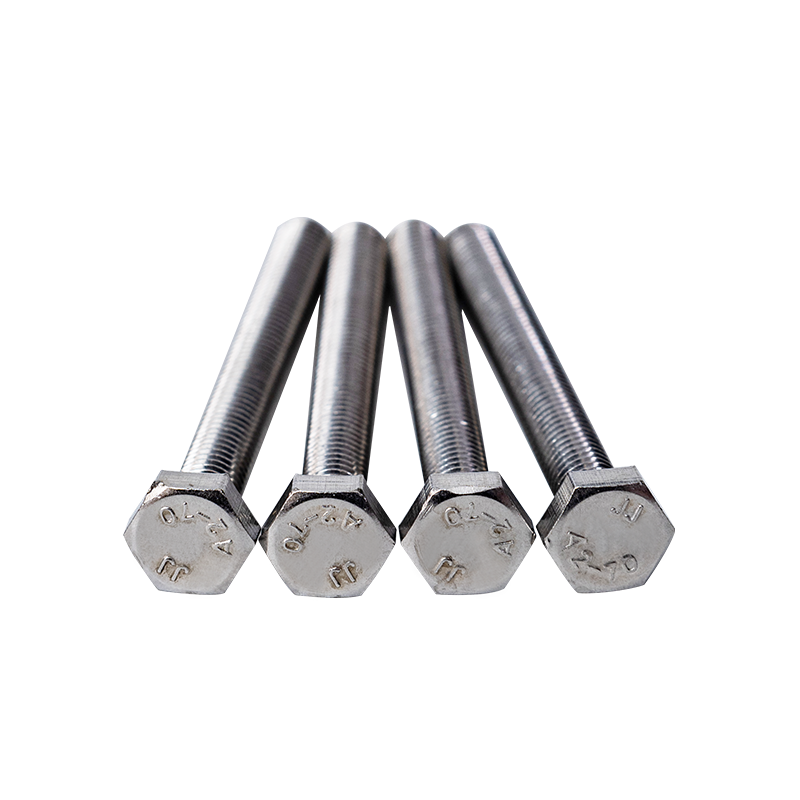 SS304 DIN933 M10 Hexagon Head BoltsM10 stainless steel 304 hex bolts to DIN933, available in 16–200 mm lengths and marked A2-70; useful reference when weighing 304 against 316.View Product →
Telling Galling Apart From Cross-Threading and Bottoming Out
All three failures feel like a stuck nut on the assembly bench, but they need completely different responses. The quick comparison below is the one we use when a customer sends back a seized sample.
| What the operator notices | Most likely cause | Confirmation check |
|---|---|---|
| Nut runs on freely, then seizes abruptly with a rough or squeaking feel; locks in both directions | Thread galling | Cut the nut off and inspect the flanks under low magnification: torn, smeared or ripped metal confirms cold welding |
| Nut wobbles or binds from the very first turn, or sits visibly off-axis | Cross-threading | The first two threads show flattened crests, and a known-good nut or thread gauge will not run on by hand |
| Nut travels the full length of available thread and stops hard with a clean rise in torque | Bottoming out or short thread length | Measure protrusion; the bolt length is shorter than nut height plus washer stack and required engagement |
| Joint loses clamp load over days or weeks without seizing | Relaxation, vibration or under-torque | Re-check torque and witness marks; the thread surfaces are intact and the nut turns freely |
Getting the diagnosis right matters because the fixes do not overlap. A cross-threaded nut needs a thread chaser and a chamfer check; a galled joint needs a process change, not a new wrench.
Prevention That Holds Up in Production
Lubrication carries most of the fix
Anti-seize paste with graphite, nickel or molybdenum disulfide, wax-based assembly lubricants and dry-film coatings all work on the same principle: keep the two surfaces from touching metal to metal. A thin, even film is enough, because excess paste simply squeezes out. On stainless hardware, nickel or graphite anti-seize is generally safer than copper-based products, which can create galvanic problems in marine and offshore work. The trade-off is torque. A lubricated thread has a lower friction coefficient, so the same torque produces a higher clamp load, commonly 20 to 30 percent higher. Recalculate torque values or confirm them with a calibrated wrench on a few test joints before the first production run.
Installation speed and technique
Friction heat is the accelerator, so speed matters. Running a dry stainless nut down with an impact wrench at full speed can raise flank temperature enough to make welding almost certain within a few turns. Start the nut by hand or at low speed until it seats, then apply final torque in one continuous motion with the tool square to the axis, since side load concentrates pressure on a handful of threads. If a nut starts to feel gritty, stop and back it off. Powering through a rough spot is the most common way a small friction problem becomes a scrapped component.
Material and thread pairing
Identical alloy on identical alloy is the worst case, so specify a deliberate mismatch where the design allows it. A 304 bolt with a 316 nut, a coated nut, or a nut with a non-metallic locking insert all interrupt the metal-to-metal sliding that starts the weld. Coarse pitches and rolled threads are more forgiving than fine pitches and cut threads. Engagement length is also worth reviewing: 1 to 1.5 times the nominal diameter is normally enough in steel, and pushing well beyond that adds friction area without adding useful strength. When a joint must be dismantled for maintenance, design it so the wearing half is the nut, not the tapped hole.
What to Put on the Purchase Order
Most galling complaints trace back to vague purchasing language rather than a bad production lot. These points are worth stating explicitly:
- Name the standard and the thread tolerance class, for example DIN 933 or GB 5783 with a 6g external thread and DIN 934 with a 6H internal thread.
- State the material grade with heat number traceability, whether SS304, SS316 or SS201, since 201 work-hardens differently and offers less corrosion margin.
- Define the lubrication state, dry, waxed or coated, and require one consistent condition per shipment. Mixed friction conditions make torque values meaningless.
- Ask for rolled threads with no laps, seams or torn crests, and check them at goods-in with a thread gauge plus a visual sample.
- Run a trial assembly of 20 to 50 pairs using the actual production tool and torque method, then dismantle and inspect every joint. This is the only reliable acceptance test for galling risk.
Buy lengths that give the required engagement rather than forcing a long bolt through a deep nut stack, and keep washers in the stack to spread load without adding thread friction. A supplier who can hold a consistent surface finish and lubrication state across lots removes most of the variability that makes galling so hard to reproduce.
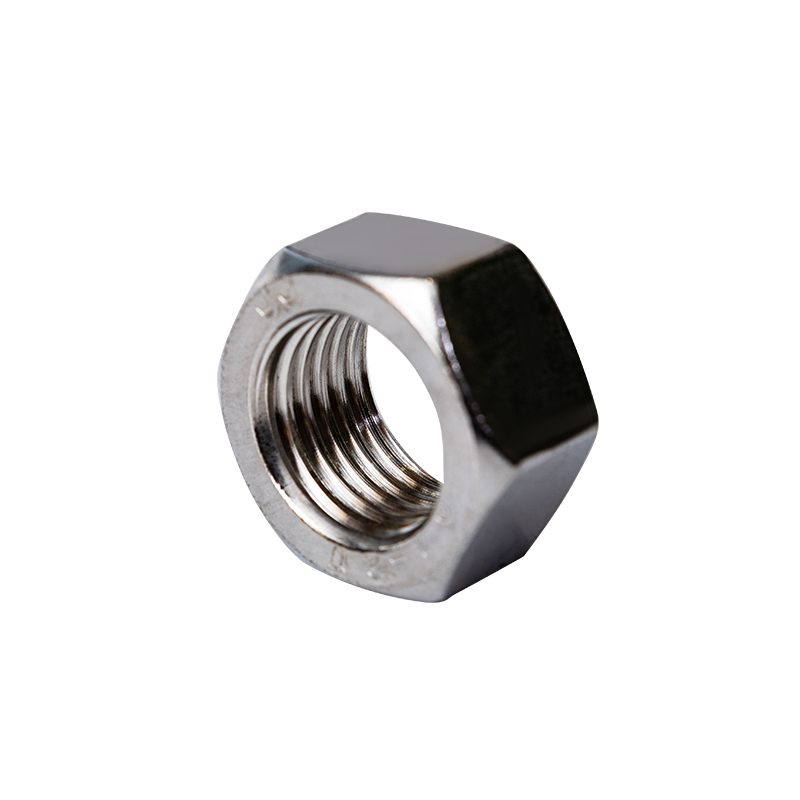 SS316 DIN934 M10 Hex NutsM10 stainless steel 316 hex nuts to DIN934 with coarse thread, marked A2-70; a matching nut for bolt-and-nut assemblies where engagement and surface condition matter.View Product →
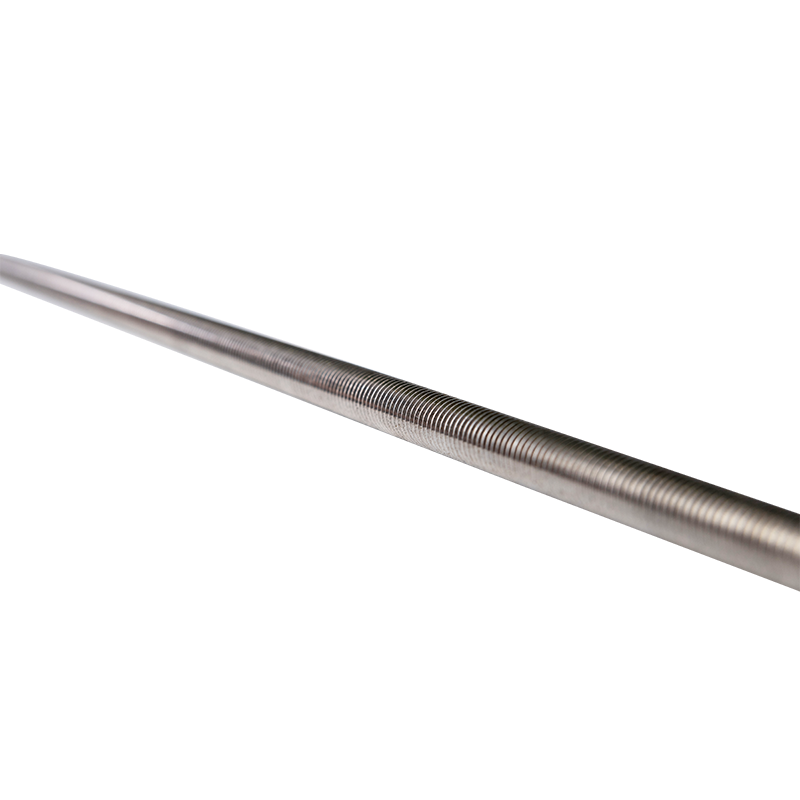 SS316 DIN975 M10 Threaded RodsM10 stainless steel 316 threaded rods to DIN975 with full coarse thread and 1–3 m lengths; relevant for assemblies where galling risk must be considered.View Product →
Repairing a Joint That Has Already Galled
Once the surfaces have torn, the damage is permanent. A galled bolt and nut should never be reused, even if the threads look serviceable after a wire brushing, because the flanks have lost material and the next assembly will seize sooner. The workable sequence is straightforward:
- Cut the nut off with a nut splitter or a thin cut-off wheel, protecting the surrounding surface, rather than applying more torque.
- Clean the female thread with a thread chaser, not a tap, so you restore the original form instead of cutting new material.
- Inspect the tapped hole for pulled threads, and check the mating part for distortion caused by the heat and force.
- Replace both halves of the joint, apply the chosen lubricant, and reduce installation speed on the rebuild.
- Record the tool, speed, lubricant and lot number so the same failure can be traced if it repeats.
Galling is a process problem more often than a product problem. The same stainless bolt that seizes on a dry, high-speed impact driver will run down cleanly with a thin film of nickel anti-seize and a slower final torque. Three controls do most of the work: keep the threads lubricated, keep the installation speed and alignment under control, and specify a deliberate alloy or coating mismatch instead of identical stainless sliding on identical stainless. Add a trial assembly on the actual lot, and most of the unpleasant surprises disappear before the parts reach the line.

 No. 2 Bridge, Chuangxin Road, Dainan Town, Xinghua City, Taizhou City, Jiangsu Province
 +86-17315333748(Wechat)
 +86-17315333748(Wechat/Whatsapp)

