


 русский
 Español
 عربى
عربى italiano
Content
Why Insulating Washers Matter in Aluminum-Stainless Assemblies
A stainless bolt threaded straight into an aluminum bracket looks fine on day one. Add a few months of rain or coastal humidity, and the aluminum around the bolt hole starts to chalk, pit, and lose its grip on the thread. That's galvanic corrosion, and it starts the moment two dissimilar metals touch in the presence of moisture.
Aluminum sits well below stainless steel on the electrochemical scale, with a potential difference of roughly 0.5 to 0.6 volts between the two in a typical outdoor environment. Aluminum becomes the anode and corrodes; stainless steel acts as the cathode and stays largely untouched. The wider the gap between the two metals on the galvanic series, and the larger the stainless surface area relative to the aluminum, the faster this reaction runs.
An insulating washer breaks that circuit by physically separating the fastener head from the aluminum surface. For a fuller breakdown of how this reaction plays out across different environments and stainless grades, see this broader guide to preventing galvanic corrosion between stainless and aluminum. The rest of this article focuses specifically on the washer itself: what it's made of, how to fit it, and where its protection runs out.
Common Insulating Washer Materials Compared
Not all non-conductive washers behave the same way under load, heat, or years of outdoor exposure. Picking the wrong material can mean a washer that insulates perfectly on installation day and creeps, cracks, or compresses flat within a year.
| Material | Temperature Range | Compressive Strength | Best Use Case |
|---|---|---|---|
| Nylon 6/6 | -40°C to 100°C | Moderate | General indoor/outdoor joints, low-cost retrofits |
| PTFE | -200°C to 260°C | Low to moderate | Chemical exposure, high or fluctuating temperatures |
| G10/G11 glass-epoxy laminate | -50°C to 150°C | High | Structural or slip-critical joints needing rigidity |
| Neoprene/EPDM | -30°C to 120°C | Low | Joints that also need moisture sealing |
Nylon covers most general assemblies at the lowest cost, but it creeps under sustained clamping pressure, which is why torque can quietly drop off within the first year. G10 and G11 laminates cost more but hold their shape under real preload, making them the more common choice in structural or slip-critical connections. Whichever material is used, it still needs a rigid stainless steel flat washers for load distribution stacked between the fastener head and the polymer, so the soft insulating material isn't crushed directly by the bolt head.
How to Install Insulating Washers Correctly
The washer only works if it covers the entire contact interface. A washer that's slightly undersized, or one that shifts off-center during tightening, leaves a sliver of bare aluminum touching bare stainless — and that sliver is all it takes to restart the galvanic reaction, just concentrated on a smaller area.
Full isolation means treating the shank, not just the head. If the bolt shaft itself touches the aluminum bore, a plastic or PTFE sleeve around the shank is needed in addition to the washer under the head; otherwise the shank becomes the new contact point. On through-bolted joints, this typically means an insulating sleeve, an insulating washer under the head, and another under the nut.
Stacking order matters too. A common failure is placing the insulating washer directly against the fastener head with nothing else, which lets the head's sharp edge dig into the soft polymer during tightening and eventually punch through it. Sandwiching a rigid stainless washer between the fastener head and the insulating washer spreads the load and keeps the polymer intact for the life of the joint.
What Insulating Washers Can't Fix
Insulating washers only isolate the surfaces they physically cover. If a stainless screw threads directly into a tapped aluminum hole, the threads remain in electrical contact along their entire engaged length regardless of what washer sits under the head. A technical review from the Australian Stainless Steel Development Association notes that a stainless screw in aluminium is frequently used although corrosion of the aluminium immediately around the stainless is quite possible, precisely because the threaded engagement itself can't be washer-isolated.
For threaded engagement into aluminum, the washer needs to be paired with a separate strategy: hard anodizing the aluminum bore, applying a non-conductive anti-seize compound to the threads, or in more demanding applications, an isolating stainless steel threaded rods for isolated flange assemblies arrangement where the load-bearing thread never contacts the aluminum directly.
Mechanical strength is the other limit worth planning around. Polymer washers generally can't take the preload of a high-torque or slip-critical joint without eventually deforming, so critical structural connections often need a metal-insert or laminate washer rather than plain nylon. Getting this distinction right early avoids a retrofit down the line, when a joint that seemed secure at installation starts to loosen after a season of thermal cycling.
Choosing the Right Stainless Fastener Stack for Isolated Joints
The washer is only one piece of the assembly. The fastener grade matters just as much, especially in coastal or marine settings where chloride exposure accelerates any corrosion that does get through. For guidance on choosing between 304 and 316 stainless bolt grades, 316's molybdenum content makes it the more reliable pick wherever salt spray or washdown chemicals are part of the environment.
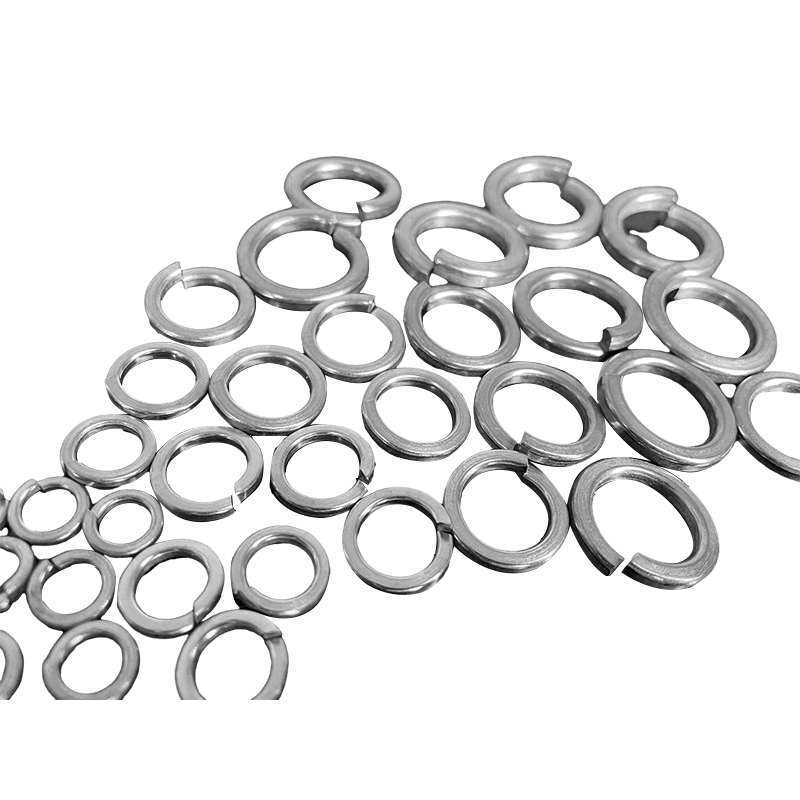
A complete isolated joint typically combines stainless steel hexagon head bolts in the appropriate grade, a rigid metal washer against the bolt head, the insulating washer itself, and — where vibration is a factor — a stainless steel spring washer to maintain clamping tension under the nut. Leaving out any one of these elements tends to show up as a maintenance problem within a year or two, usually as a loosened joint or a ring of white corrosion product around the fastener.
None of these components are exotic or expensive on their own. The cost of getting the stack right the first time is a fraction of what it takes to drill out a seized, corroded fastener and repair the aluminum around it later.

 No. 2 Bridge, Chuangxin Road, Dainan Town, Xinghua City, Taizhou City, Jiangsu Province
  +86-17315333748(Wechat)
 +86-17315333748(Wechat/Whatsapp)

